








INTRODUCTION
Alora released Sailing on September 5th, 2026. With Sailing Part 1 came almost all functionality including: Boat construction, Sea charting, Port tasks, Salvaging, Barracuda trials, Ocean encounters, and new lands functioning with their perspective content.
Soon, Sailing Part 2 will release with: Boat combat with Bounty tasks, Crewmates, Deep sea trawling, and the addition of Wyrmscraig island and all of its amazing content.
It is suggested to have a relatively high Construction level before starting Sailing. The better the boat upgrade, the higher Construction level required. You can check the Boats section of the in-game Construction skill guide for more information.
A Smithing level up to 89 and a Farming level up to 71 is needed for certain boat upgrades for ironmen or those who wish to avoid paying premium costs for supplies.
If you have additional questions that are not answered in this guide, it's best to ask in-game in the Alora CC or check the official OSRS Wiki Sailing page here: https://oldschool.ru....wiki/w/Sailing
PLUGINS
- The Sailing plugin is available on both RuneLite and mobile client and can assist with all training methods described later as well as ocean encounters. It is HIGHLY suggested to use this plugin.
- The Port Tasks plugin is available on Runelite and helps you to decide which tasks are the best experience for the time spent as well as giving you the shortest path to complete the task.
- Barracuda Trials Pathfinder is available on RuneLite and is an amazing plugin that assists you with the shortest path to complete each type of trial.
- Tile Packs is an alternative plugin to Barracuda Trials Pathfinder if you prefer it.
- Shortest Path is a very useful plugin when trying to sail to a new area. Open your map, right click any destination, and select "Set target". It will create a path in game to follow.
- Entity Hider comes in handy to hide other players and their boats if they are distracting to you while doing things such as barracuda trials.
SKILL UNLOCKS
- Soup, the Sailing skilling pet
- Belle's Folly and Gull pet from Shellbane Gryphon
- Armadyl brews (similar to Saradomin brews but heals a little less and boosts range)
- Super hunter potion which boosts your Hunter level by 6
- Port Roberts for a great thieving training method
- Much more to come when Wyrmscraig releases
GETTING STARTED
- Grab a Saw, Hammer, 8 normal Planks, 14 Teak planks, 32 Bronze nails, 70 Steel nails, and 35 Swamp paste
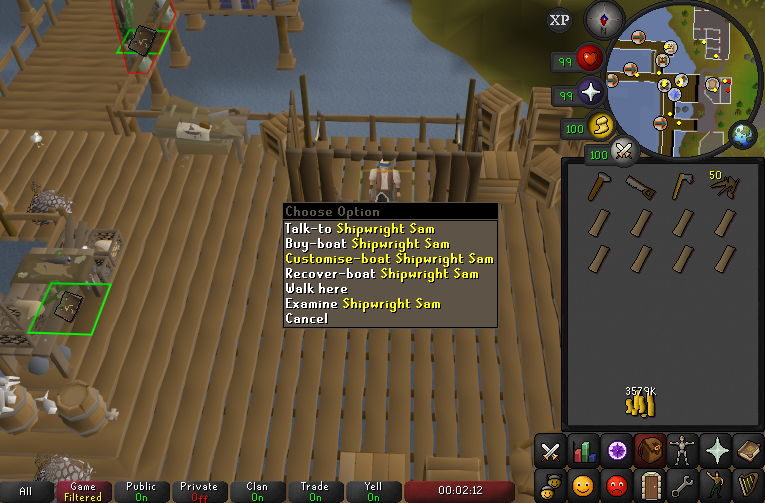
- Use the ::sailing command and speak to Shipwright sam to customize your boat
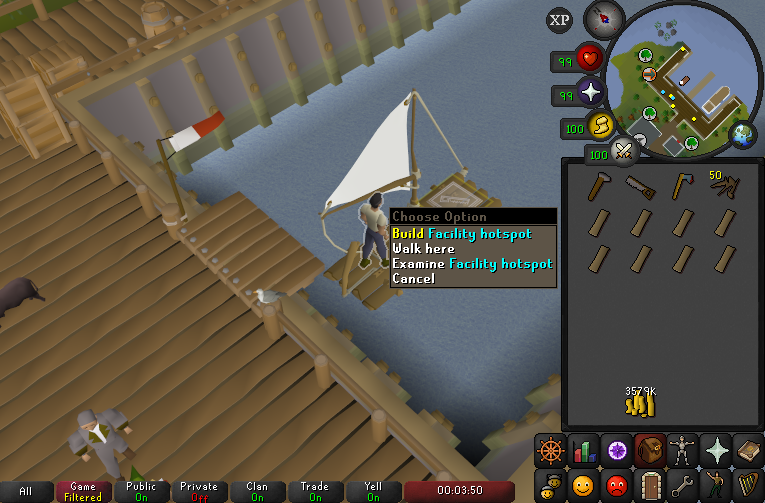
- Board the gangplank and build a Basic cargo hold on the Facility hotspot
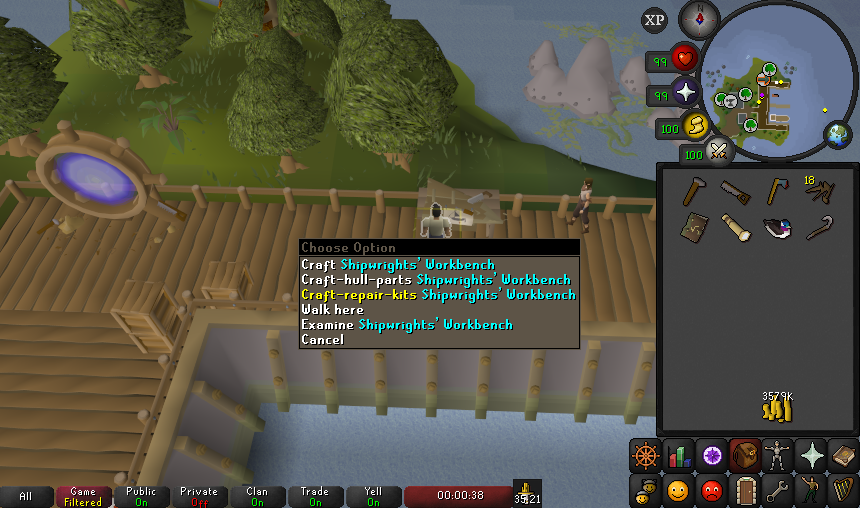
- Disembark from your boat and craft 7 Teak repair kits at the Shipwright's workbench
(these are for regenerating your boats health if needed)
- Exit the portal to find yourself back at Port Sarim
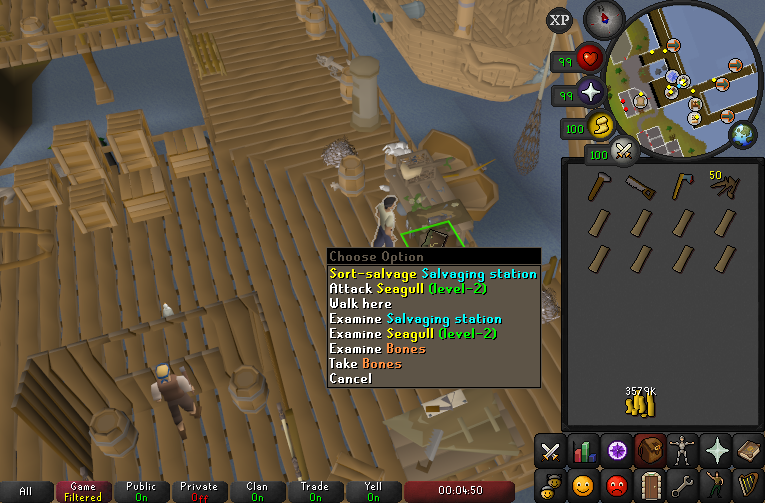
- Interact with the Salvaging station and Notice board for some starting XP
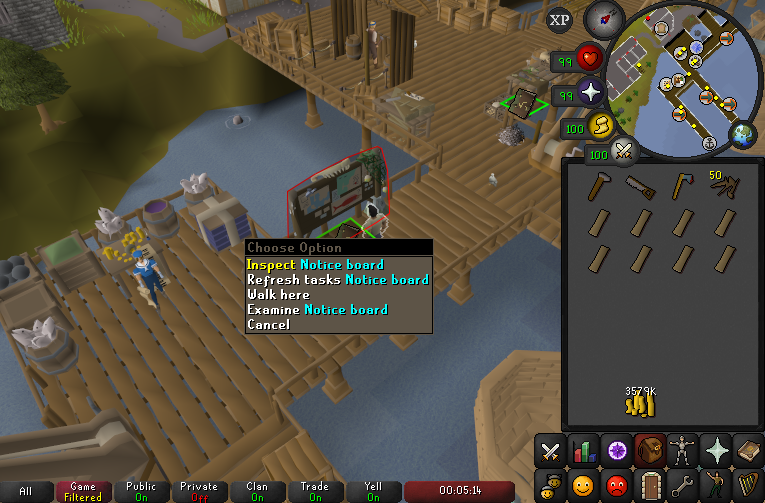
— At this point you should read the Port Tasks training method section for more information on what to do next. Additionally, read up on the Sea Charting training method section before starting your Port Tasks to do them simultaneously.
BOAT UPGRADES & SUPPLIES
Boat Types & Use Cases
— To purchase a bigger boat speak to Shipwright Sam at ::sailing. You can purchase a Skiff when you reach level 15 and a Sloop at level 50.
- A Raft is the boat type that you start out with. It has no facility hotspots other than a Cargo hold.
- A Skiff is a medium sized boat that provides enough facility hotspots to accomplish everything while still being more narrow than a Sloop to better fit through small spaces. These are great for Barracuda Trials.
- A Sloop is the largest boat that provides even more facility hotspots including a spot for a second salvage hook which makes Salvaging more xp/hr once Crewmates are released.
- NOTE: The smaller the boat; the less resources it takes to upgrade core boat parts.
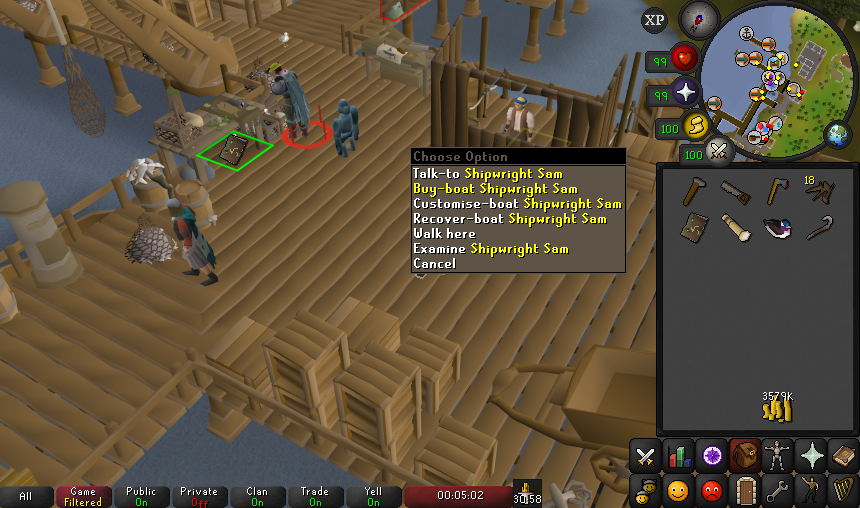
Core Boat Parts
— To upgrade the core parts of your boat you will want to interact with the Boat Schematics board on the Shipyard island.
- Hull: Makes your boat quicker and have more health.
- Helm: Allows you to sail through Rapids and Tangled kelp to access new oceans.
- Sails: Increases storm resistance, acceleration speed, and speed boost duration.
- Keel: Increases boat hitpoints and armour. Adamant+ gives immunity to crystal waters. Note that a keel is not available for rafts.
- Brazier: Available after finding the Eternal brazier schematic. Allows players to traverse icy seas in the Northern Ocean.
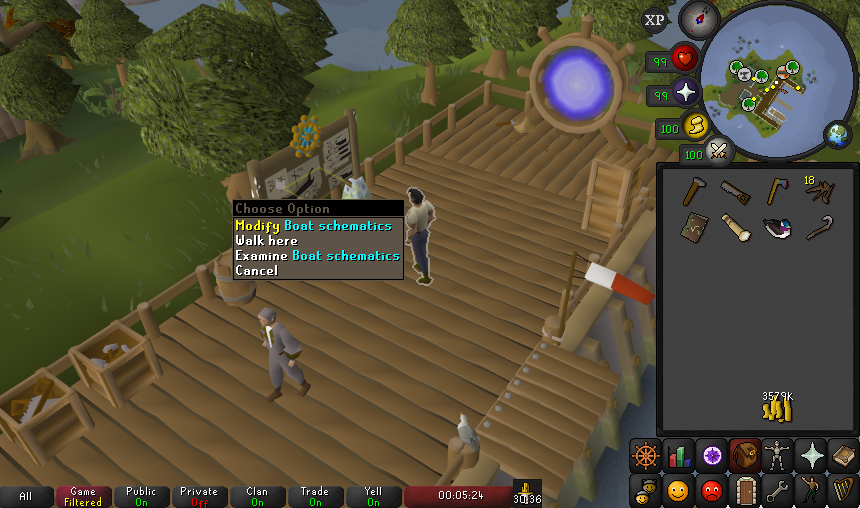
Facility Upgrades
— Facility hotspots are used to construct facilities whilst on your boat in the Shipyard. Without boat combat or deep sea trawling, not all facilities currently have a use, so I will go over the most important ones currently:
- Cargo hold: You can upgrade your this in order to have extra room if you need to store things such as repair kits, salvage, or certain storable loot.
- Salvaging hooks: Used to reel in salvage from the sea. The higher tier salvaging hook the higher the catch rate. Note that Dragon salvaging hook is not currently accessible.
- Salvaging station: After finding the Salvaging schematic this can be built and then used to sort salvage on your boat so you dont have to sail back to a dock every inventory. It is highly suggested to construct this.
- Keg: Can be built to add different brews to it which provide different boosts. For more information on all the different brews and possible boosts, check out the OSRS Wiki page here: https://oldschool.ru.../Keg_(facility)
- Wind catchers: Can be built in order to store wind boosts to be used upon discretion. This requires a captured wind mote which is a reward from completing the Shark rank of the Jubbly Jive barracuda trial within 3 minutes. A gale catcher will be very significant for completing other barracuda trials in timely manners.
- Crystal extractor: This can be built after obtaining Heart of Ithell by completing the Shark rank of Gwenith Glide barracuda trial within 3:42. This is very useful to boost xp/hr by extract from it every 60 seconds for some experience as well as a speed boost.
- Teleport focus: Allows you to teleport your boat to whatever dock you're currently at.
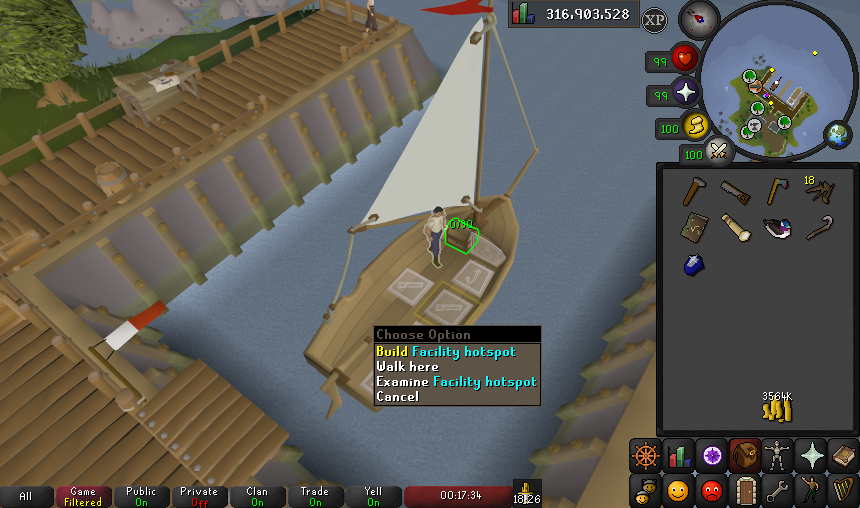
Obtaining Materials
- Lead bars: Mine Lead ore in the cave on The Pandemonium island. You can then smelt the ores into bars.
- Cupronickel bars: At 67 Sailing you can access Deepfin island and mine Nickel. You can then smelt the ores into bars with both Nickel and Copper ores.
- Bolt of cotton: Obtain Cotton seeds by opening seed packs from farming contracts or salvaging Large or Fremennik shiprecks. Plant the seeds at any hops patch. It is highly suggested to use Ultracompost to yield the largest harvest possible. Take the Cotton bolls to a spinning wheel to create Cotton yarn. Finally, take the Cotton yarn to a loom to create a Bolt of cotton at a 2:1 ratio.
- Bolt of canvas: Obtain Hemp seeds by opening seed packs from farming contracts or salvaging Large and Barracuda shipwrecks. Follow all the same steps to create a Bolt of canvas as laid out above for Bolts of cotton.
- Camphor plank: With 45 Sailing and 66 Woodcutting, sail to The Great Conch (Fairy ring CJQ after you've docked there at least once). Cut Camphor trees for logs. You can then make these into planks at any sawmill.
- Ironwood plank: With 72 Sailing and 80 Woodcutting, sail to Sunbleak Island and cut Ironwood trees for logs which you can then make into planks.
- Rosewood plank: With an Adamant keel or better, 79 Sailing, and 92 Woodcutting, you can sail to Drumstick Isle. Cut Rosewood trees for logs which you can then make into planks.
- Hull parts: All types of hull parts can be made with their respective planks at a Shipwright's workbench. Find a workbench at the Shipyard or almost any dock with. Hull parts can be combined at the same place into Large hull parts.
- Keel parts: All types of keel parts can be made at any anvil with their respective bars. Keel parts can then be used on an anvil to create Large keel parts.
- Dragon sheets & nails: Obtain these as a drop from either Lava Strykewyrm (62 Slayer to kill and 60 Sailing to access Charred Island) OR Frost dragons (87 Sailing and an Eternal brazier to access Grimstone island). Dragon sheet drop rates are doubled while on the NPCs perspective slayer task. One Dragon sheet can be turned into an additional 15 Dragon nails at the Ancient Forge in the Godwars dungeon.
- Magic stone: Can be obtained from ::store with tokens or purchased from other players
— For more information on boat upgrades you can check out the OSRS Wiki page here: https://oldschool.ru.../w/Shipbuilding
TRAINING METHODS
General Information
- For Sea charting you should have the proper tools required in your inventory which can be found in your boats Cargo hold.
- There are 358 charting tasks in total granting a base experience of 591,270 sailing experience.
- Additionally, after completing them all, a bonus base 100,000 experience.
- After completing all charting objectives you will also be able to purchase Horizon's lure which gives you the ability to configure your keg to give a permanent 2.5% experience boost in Sailing.
- For all types of charting you should use the Sailing plugin with Sea charting enabled.
Generic Charting
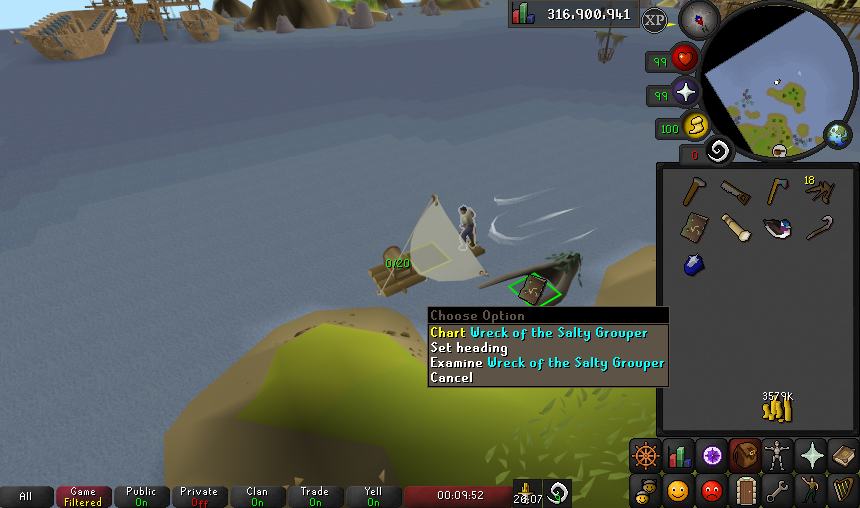
Generic charting can be started at level 1 Sailing. They are marked on your map and in-game with the icon of the Captain's log item. Click "Chart" on the object to obtain the experience.
Spyglass
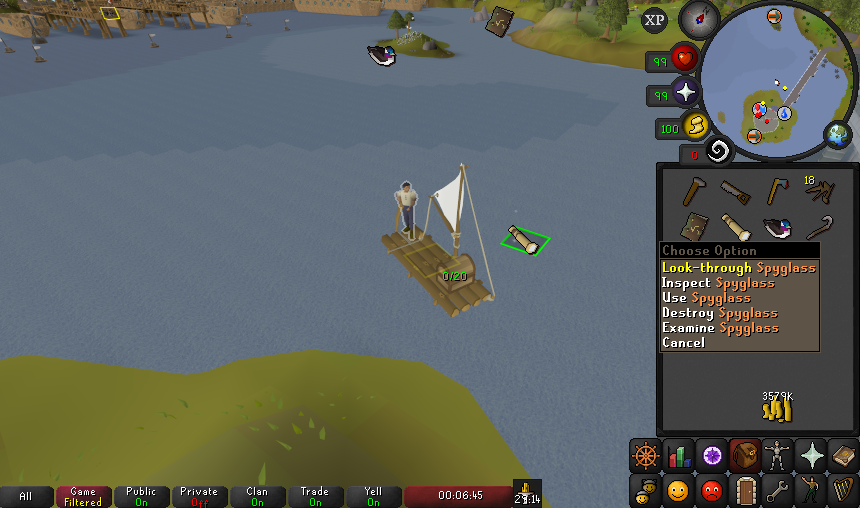
Spyglass charting can also be started at level 1 Sailing. They are marked on your map and in-game with the icon of the Spyglass item. Click on the Spyglass in your inventory when you are close enough to the charting spot to obtain the experience.
Crates
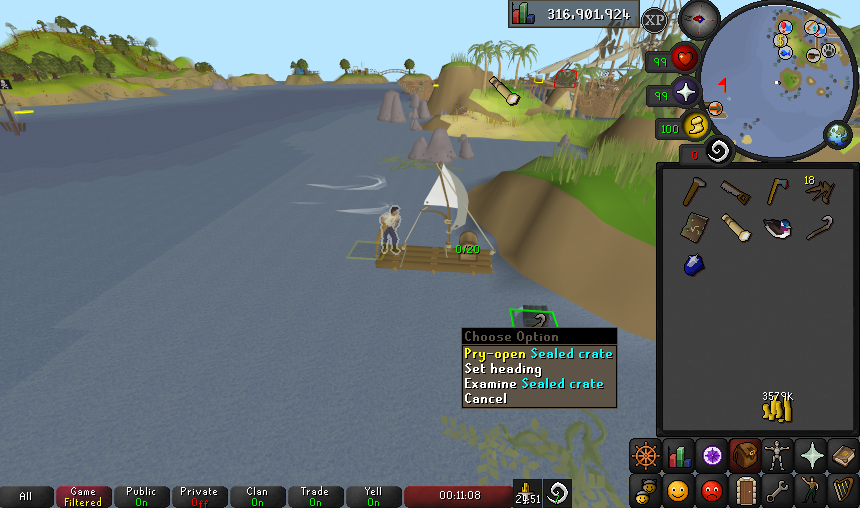
Crate charting can be started at level 12 Sailing. They are marked on your map and in-game with the icon of the Crowbar. Click to pry open the crate with the Crowbar in your inventory. You will then get a bottle of something to consume for experience.
WARNING: Consuming these drinks have different effects. It could do a significant amount of damage to you or even make you lose consciousness and wash ashore. You should bring some food with you when doing charting to heal if needed. If you need to know what the effects of a particular bottle will be you can check the wiki page here: https://oldschool.ru.../w/Sealed_crate
Currents
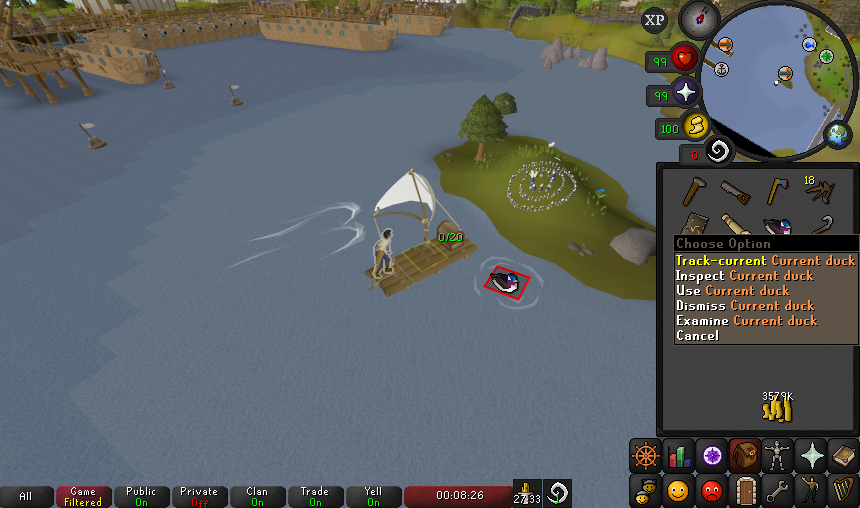
You can chart currents with a Current duck starting at level 22 Sailing. They are marked on your map and in-game with the icon of the Charting duck. Use the "Track current" option on the Current duck in your inventory and you will see a duck starting to move in the water. Follow the duck at a slow pace until it reaches its destination which you can then click the duck in the water to collect it for experience.
Diving
You can start Diving charting at level 38 Sailing. They are marked on your map and in-game with the icon of the Fishbowl helmet. On Alora you do not actually need the Fishbowl helmet or Diving apparatus to complete this charting task. Speak with the mermaid and they will give you a riddle and then prompt you to search and select some items as the answer to the riddle. You can easily solve these with the Sailing plugin or looking at the OSRS wiki here: https://oldschool.ru...w/Mermaid_guide
— This charting gives the most experience for the time spent completing them, so it's a good idea to always do them if they're close by.
(insert pic)
Weather
You can start Weather charting at level 57 Sailing. They are marked on your map and in-game with the icon of the Portable weather station item. This item is not in your cargo hold, but instead given to you after speaking to the troll nearby. Your task is to sail to a given location (routed via the Sailing plugin), use the item to track the weather, and then return to the troll with the results.
(insert pic)
Port Tasks
General Information
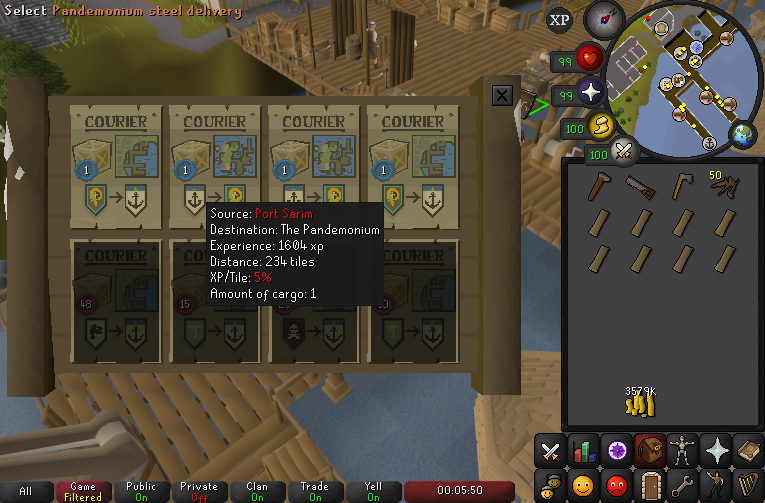
- It is highly suggested to use the RuneLite client for the Port Tasks plugin. This plugin will tell you how much experience a task will give as well as percentage of experience per tile sailed to help you choose the best tasks.
- At higher levels you can select multiple tasks at once in order to complete multiple tasks at the same time. See the Port Tasks sections of the in-game Sailing skilling guide for more info.
- Also note that the higher donator rank you have, the more times you can refresh the Notice Board every hour by right clicking the Notice Board. You are able to select a task, refresh the Notice board (still keeping that initial task), and select extra tasks from the refreshed list.
- Lastly, it is recommended that you do Sea charting objectives throughout your Port task paths for bonus experience (see Sea charting section for info).
Completing Port Tasks
— To begin Port tasks you will need to have at least built a basic cargo hold on your boat to hold the cargo (See "Getting Started" section of guide).
- Visit the Notice Board at any dock and select a task where the source is where you are currently located.
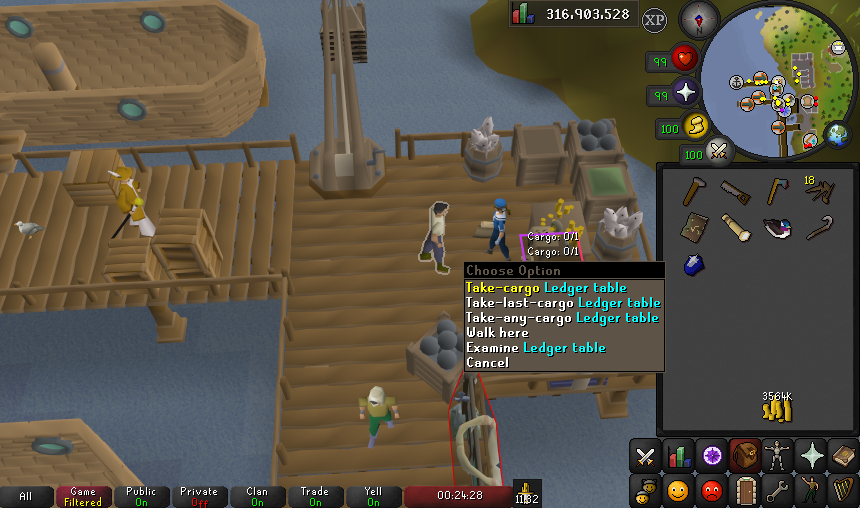
- Next, find the Ledger table and pickup the cargo from it.
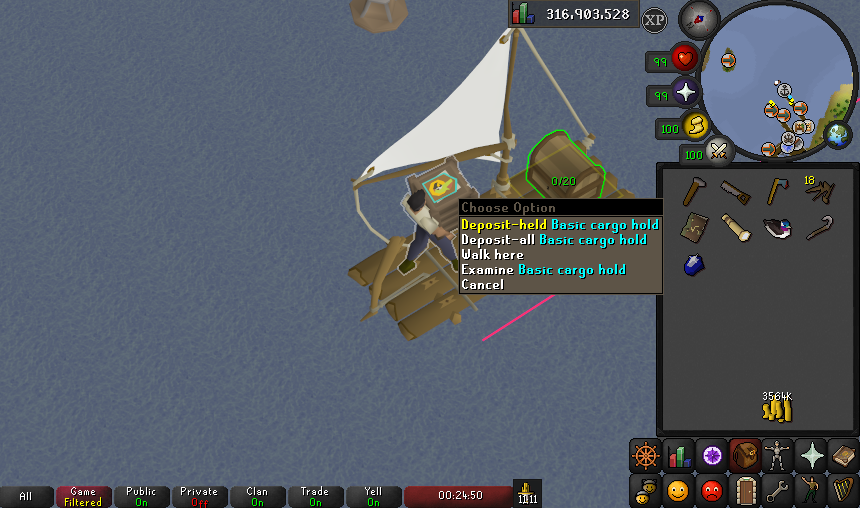
- Now go onto your boat and place the Cargo in your Cargo hold.
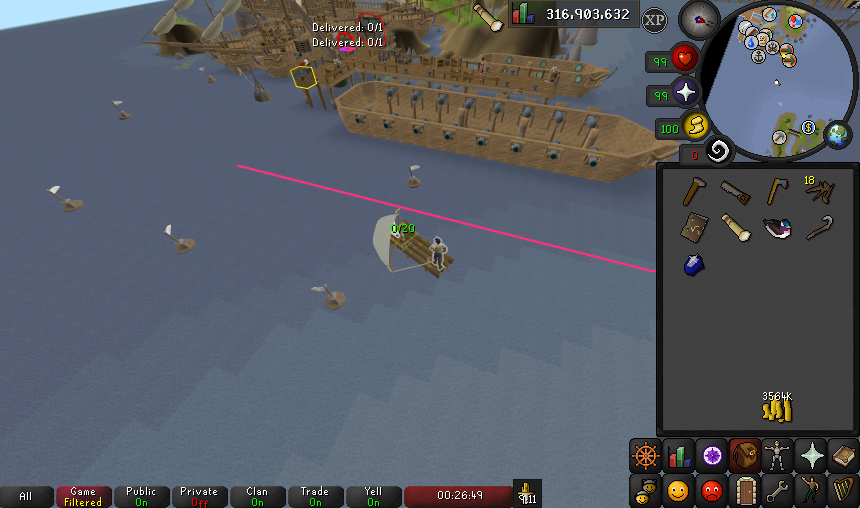
- Sail to the port you are required to deliver the cargo to.
- Take the cargo out of your cargo hold, exit your boat, and deposit the Cargo onto the Ledger table.
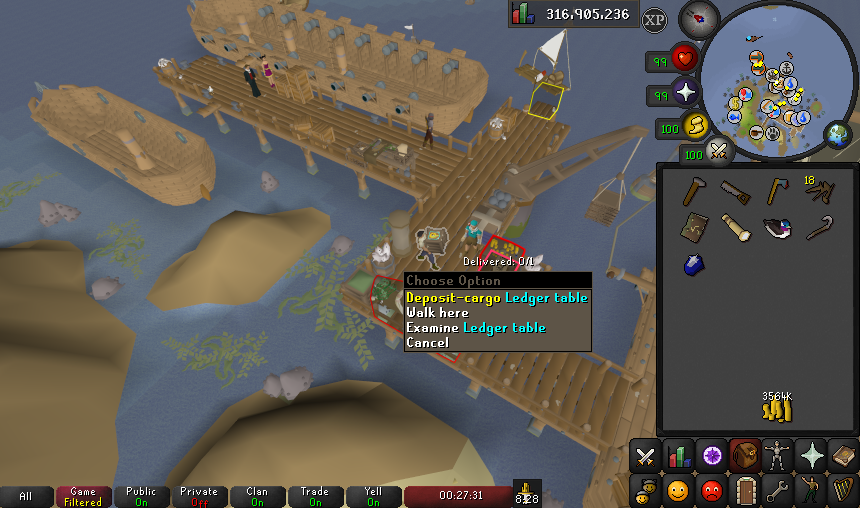
— Now your task is complete and you can find a nearby Notice board to start a new task!
Salvaging
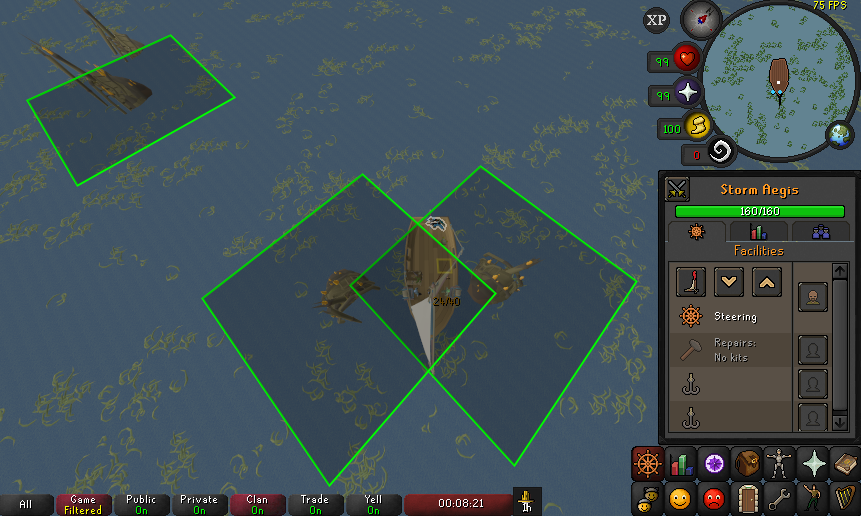
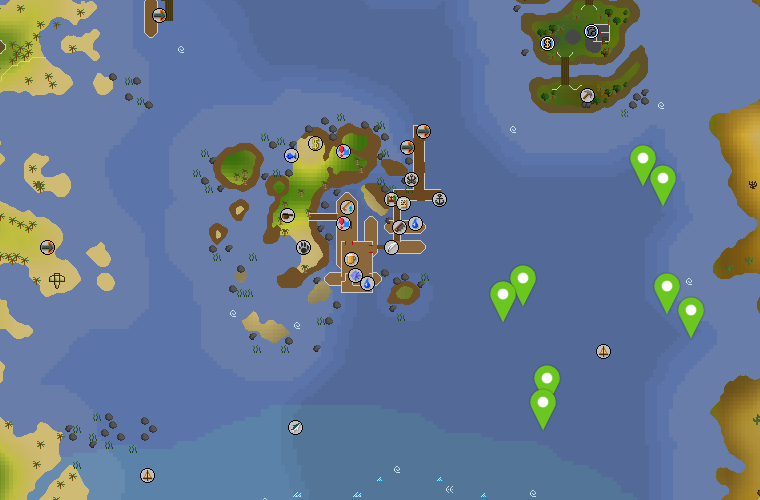
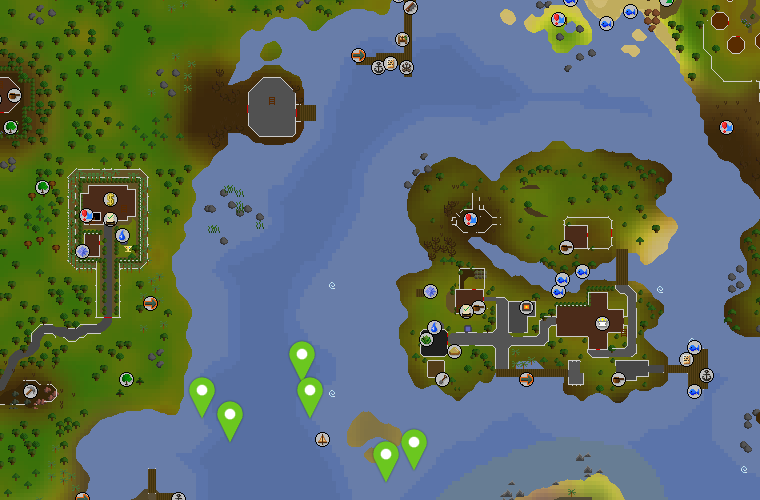
General Information Small shipwreck Fisherman's shipwreck Barracuda shipwreck Large shipwreck Pirate shipwreck Mercenary shipwreck Fremennik shipwreck Merchant shipwreck Barracuda Trials General Information Tempor Tantrum Requirements Tips Rank Info Jubbly Jive Requirements Tips Rank Info Gwenith Glide Requirements Tips Rank Info
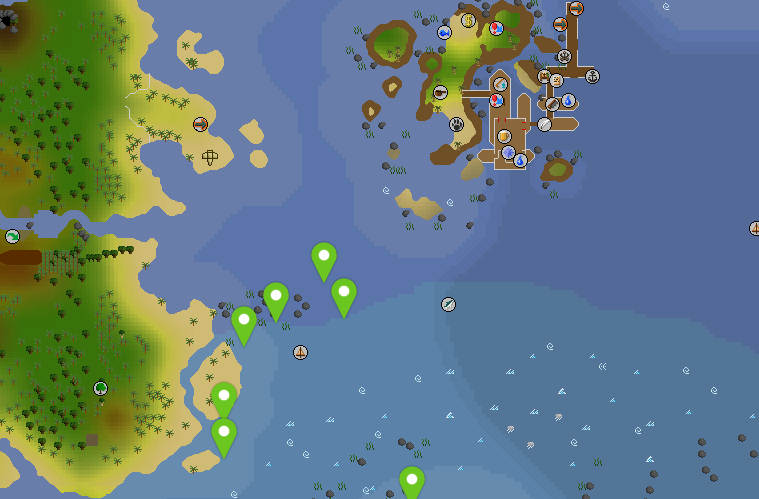
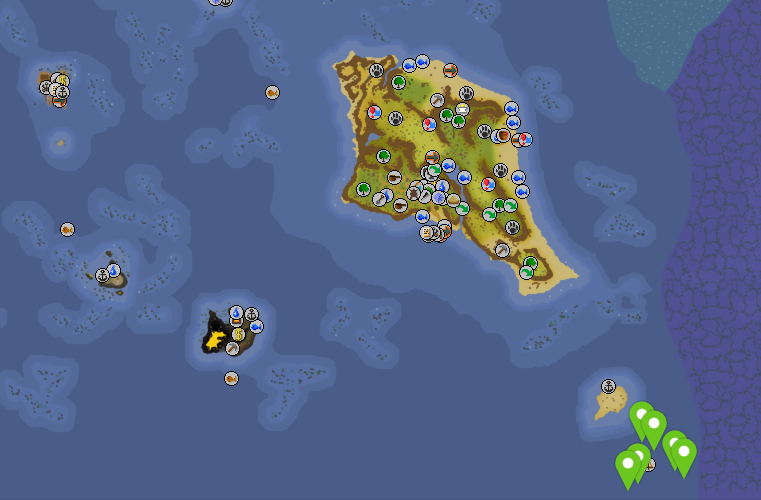
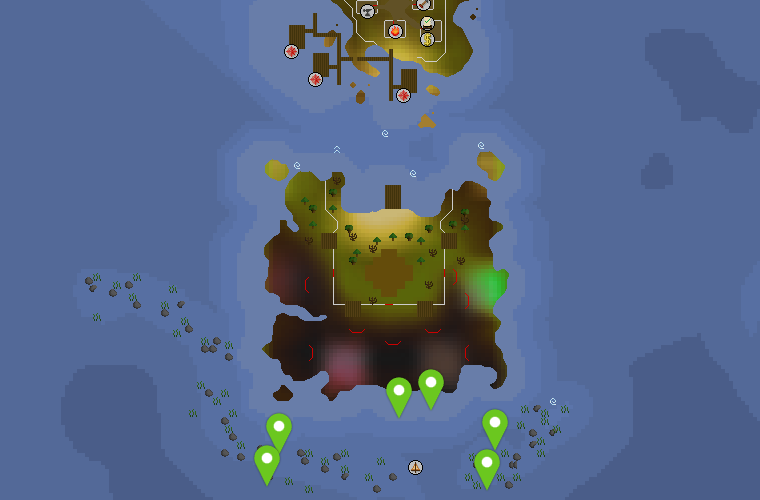
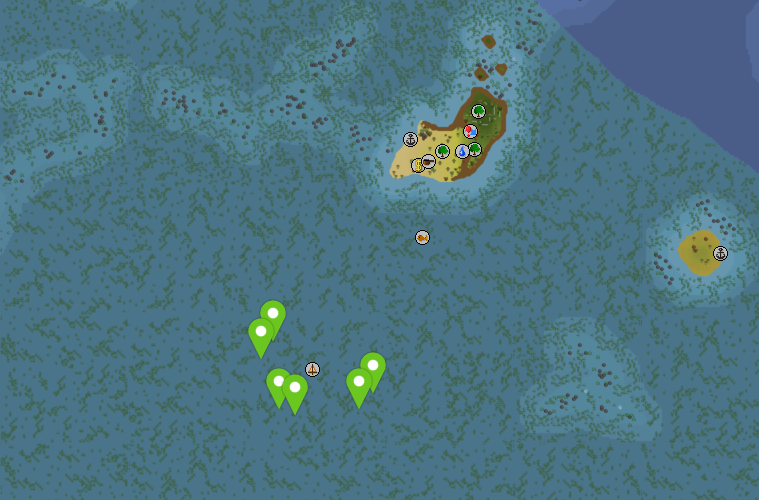
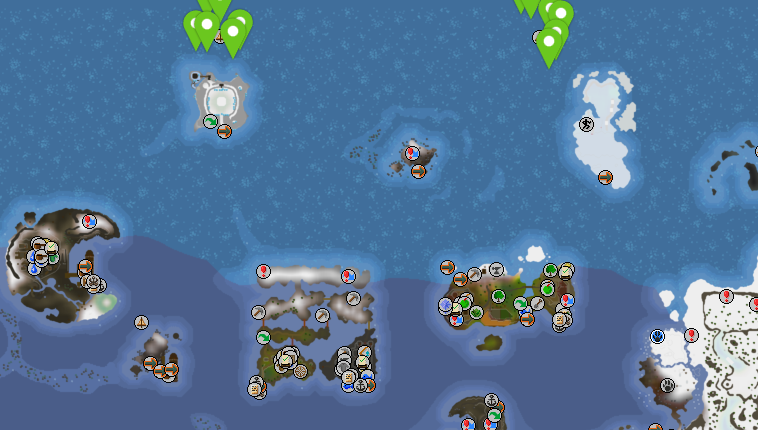
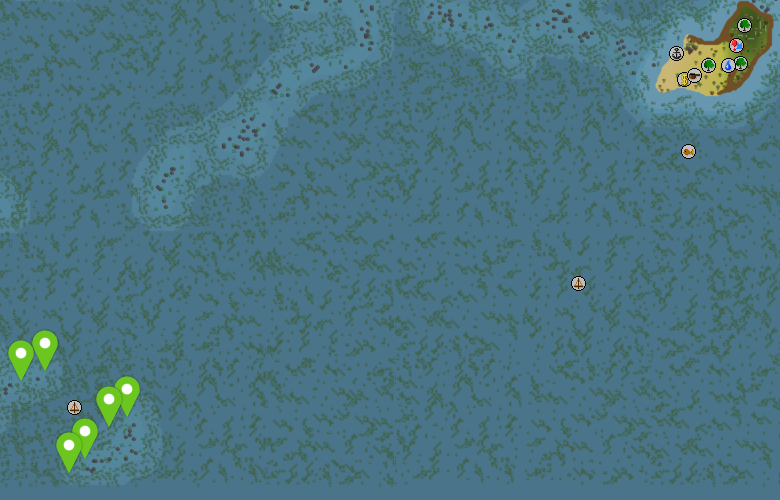
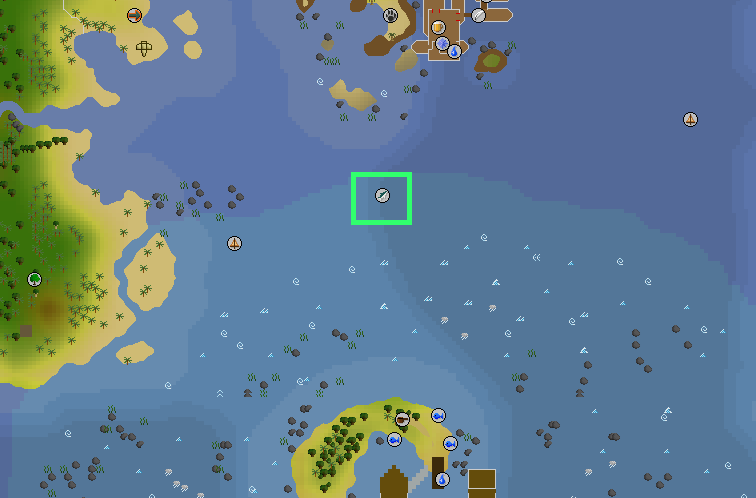
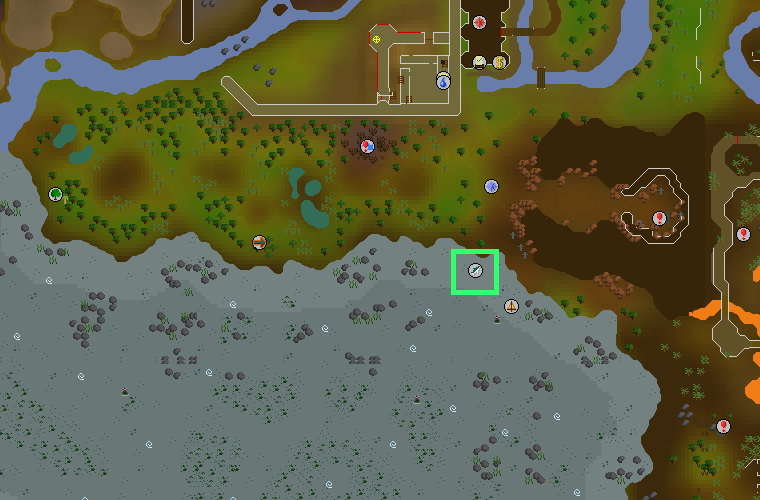
OCEAN ENCOUNTERS
General Information
- Ocean Encounters are events that will spawn randomly while you're sailing on your boat
- Upon completing an encounter you will gain Sailing XP and possibly other miscellaneous rewards
- It is HIGHLY recommended that you use the Sailing plugin so you can be notified of an encounter nearby
Strong winds
— Strong winds are the most common encounter with a 60% chance to spawn
What To Do
- Look around nearby to find the Strong Winds. They are very white and visible.
- Sail through the strong winds for a speed boost and experience
- Another set of strong winds will appear. Repeat until they no longer respawn.
Mysterious glow
— Mysterious glow has a 12% chance of spawning
What To Do
- Look around nearby to find a mysterious blue glow in the water
- Sail over it to get experience and a gem
Lost crate
— Lost crate also has a 12% chance of spawning. The type of crate that can spawn will depend on your current sailing level.
What To Do
- Look around nearby crate in the water and collect it for experience and an item
- The experience and reward received will depend on the type of crate (Wooden - Ironwood)
Castaway
— Castaway is an NPC floating in the water which has a 6% chance of spawning
What To Do
- Sail close to the castaway and bring them onboard for base experience equaling 5x your Sailing level
- Sail to the nearest dock and then exit your boat to save them for base experience equaling 10x your Sailing level
- If the castaway is a dog however, you will instead receive base experience equaling 15x your Sailing level
Giant clam
— Giant clam is an encounter you can start to receive at level 40 Sailing with a 6% chance of spawning
What To Do
- Look around for a Giant clam nearby and use an item on the clam
- the higher the alch value of the item, the more experience you will get
- The next time you get this encounter, you can claim a pearl from the clam along with experience
- You are then immediately able to use another item on it before it despawns for the next time
-
For this event it is always encouraged to keep high alch value items on you that you are willing to dispose of when sailing
-
For a list of recommended items, check this Wiki page: https://oldschool.ru...ki/w/Giant_clam
-
Clue turtle
— Clue turtle is an encounter you can start to receive at level 5 Sailing with a 2.5% chance of spawning
What To Do
- Look around to find the turtle in the water and collect the Clue scroll and experience from it
- The clue scroll received is always random but also dependent on your Sailing level
- Easy clues are always a possibility while others have a Sailing level requirement:
- Level 30+ for a Medium clue scroll
- Level 50+ for a Hard clue scroll
- Level 70+ for an Elite clue scroll
Ocean Man
— Ocean Man is an encounter that has a 1.4% chance of spawning
What To Do
- Look around for an NPC on a floaty. Speak to him and he will give you a cocktail. No experience, just a cocktail.
Lost casket
— Lost casket is the rarest encounter with a spawning chance of only 0.1%
What To Do
- Locate the casket nearby and loot it for a roll from that Clue tiers drop table
- The experience you gain from this encounter will depend on the tier of clue casket it is
LOST SCHEMATICS
General Information
- Schematics are notes that you can find on new islands that unlock more content
- Not all facilities or Sailing items are in game yet, so the list below is only schematics used in this guide
- You can find a list of all schematics and locations on the Wiki: https://oldschool.ru...Lost_schematics
- Note: You will need a spade to use when you collect schematics
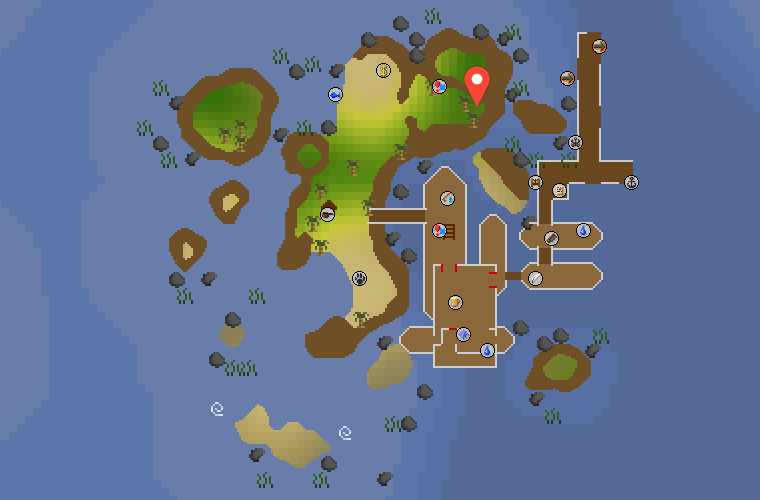
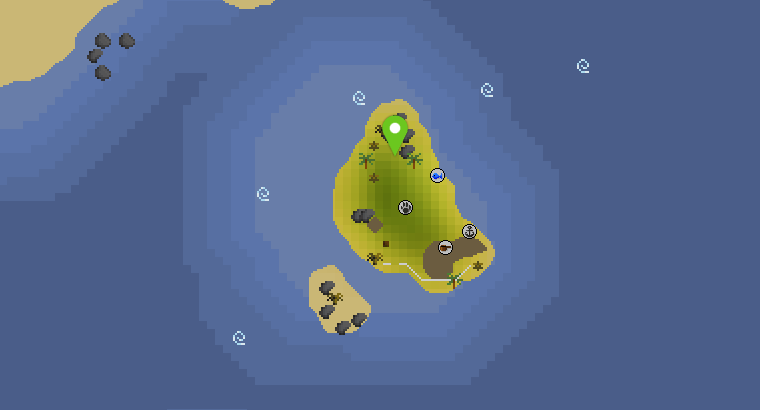
Salvaging station
- The Salvaging station schematic can be obtained after level 42 Sailing
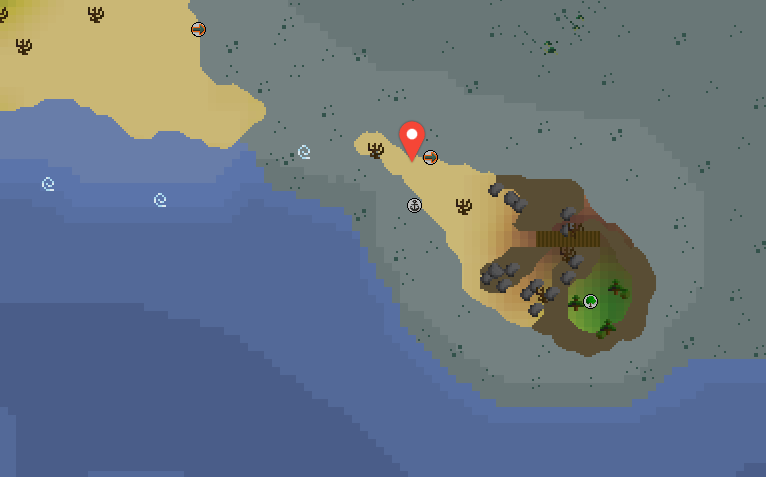
- You'll want to dig on the marked location on The Pandemonium (red pin)
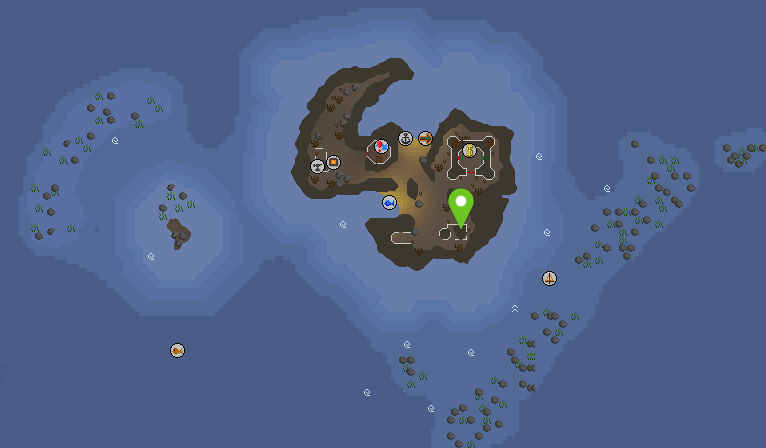
- Afterward, search the Lockbox marked on the map on Chinchompa Island (green pin)
Gale catcher
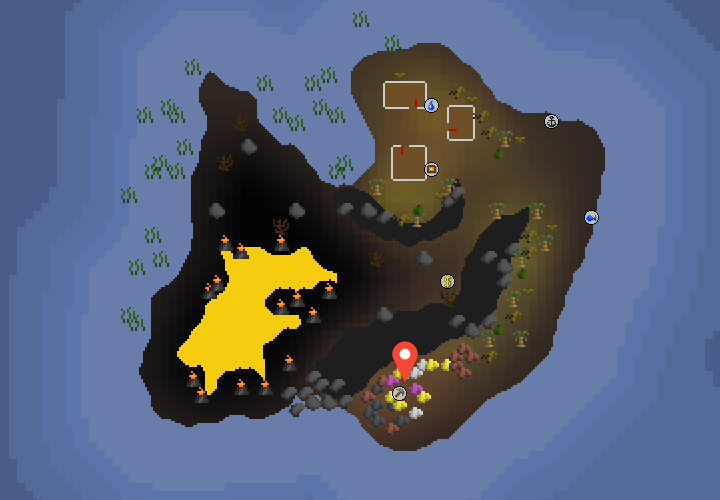
- The Gale catcher schematic can be obtained after level 51 Sailing
- You'll want to dig on the marked location on The Onyx Crest (red pin)
- Afterward, search the Lockbox marked on the map of Angler's Retreat (green pin)
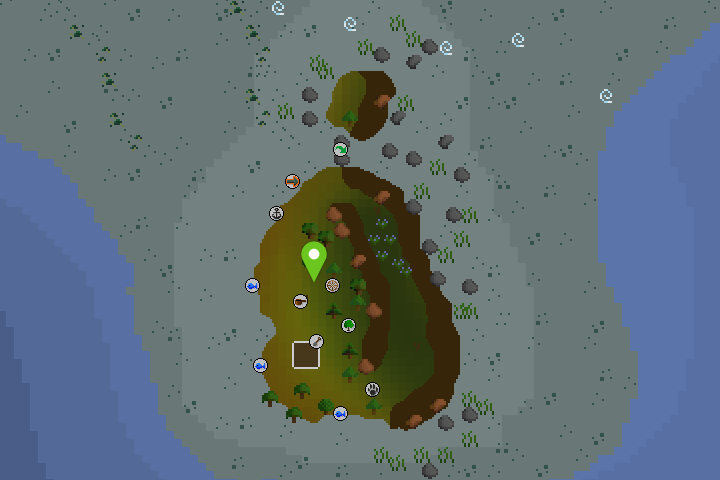
Rosewood hull
- The Rosewood hull schematic can be obtained after level 56 Sailing
- You'll want to dig on the marked location on The Isle of Bones (red pin)
- Afterward, search the Lockbox marked on the map of Shimmering Atoll (green pin)
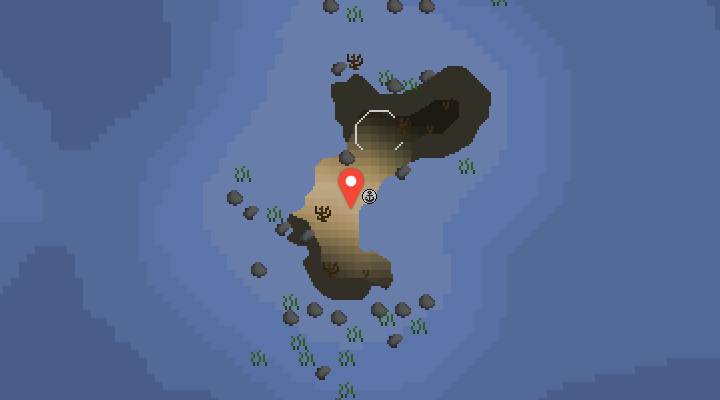
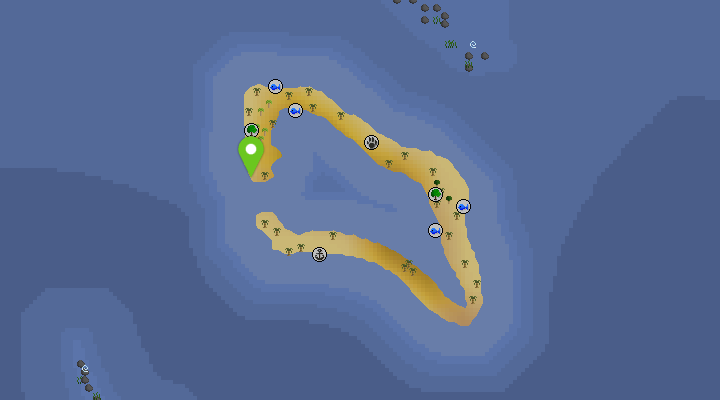
Eternal brazier schematic
- The Eternal brazier schematic can be obtained after level 76 Sailing
- You'll want to dig on the marked location on Tear of the Soul (red pin)
- Afterward, search the Lockbox marked on the map of Buccaneers' Haven (green pin)