


 This topic is locked
Real Alan's Giants' Foundry Guide
Step 1 - Inventory
Beginner's Inventory Set Up = Ice gloves (worn) + 9 runite bars + 19 adamant bars
Advanced Inventory Set Up = smith's outfit (worn) + 9 runite bars + 19 adamant bars
*ice gloves can be combined with the smith's gloves to make smith's gloves (i)
*alternatively, alchable rune/adamant items can be used instead of rune/adamant bars
*If a platebody takes 5 bars to make -> it counts for 5-1 = 4 bars in foundry
*use platebodies for foundry, save bars for making 2h's, and then alch the 2h's -> best bang for your buck
Alan's Inventory Set Up
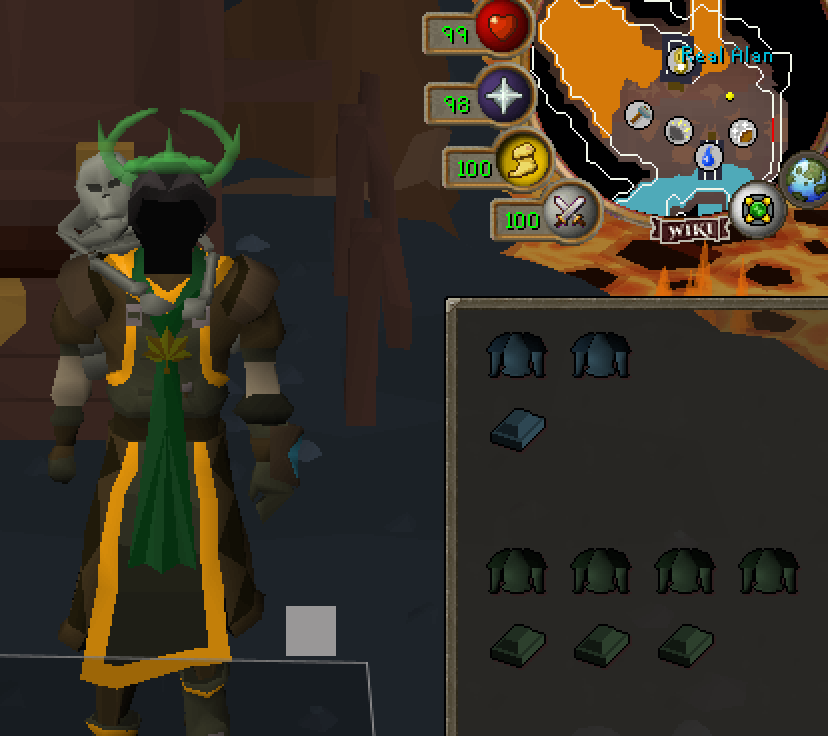
Step 2 - Mould Setup
Grab a task -> Commission Kovac
Setup Mould -> Setup Mould Jig (Empty)
Look at the green bars -> select the moulds that yield the greatest sum of green bar values -> then, set mould
*I would highly recommend unlocking all the moulds first to maximize the points you get per completed sword
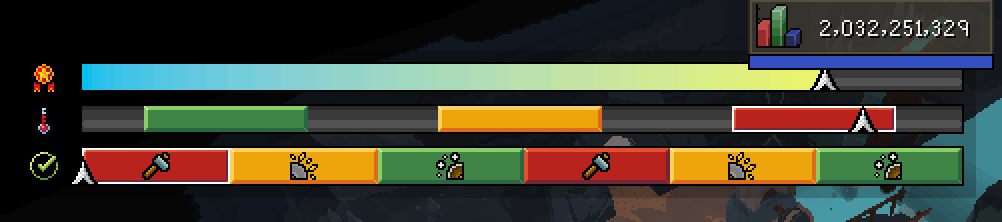
Step 3 - Understanding the Progress Bars
Add the bars/metal pieces to the crucible -> use metal pieces on crucible/click crucible to deposit bars -> pour crucible -> pick up sword
You will now have 3 progress bars.
Top bar -> sword HP (quality) -> fucking up will make this go down
Middle bar -> sword temperature -> you can control this by plunging the sword in the lava pool (heat up) or waterfall (cool down)
Bottom bar -> tells you which object you want to use
Step 4 - Making the blade
The bottom bar always starts in red -> use the trip hammer while 2nd bar is in red range (high end)
When the arrow on the bottom bar moves into yellow -> reduce temperature to the yellow range (low end) -> then use the grindstone (grinding will heat up the sword's temperature)
In the middle of the 2nd (yellow), 4th (red) and 6th phases (green), there will be a notification.
When this happens, you should click off the object you were interacting with and then immediately click back on -> rewarding you with extra progress (seen in the 3rd bar) for your quick reflexes
When the arrow on the bottom bar moves into green -> reduce temperature to the green range (high end) -> then use the polishing wheel (polishing will reduce sword's temperature)
After completing the 6th phase (green) -> turn in your blade to Kovac
Step 5 - Answering Your Questions
By now, I'm betting some of you are wondering why I don't recommend the 14 runite bar & 14 adamant bar ratio.
Using the 14-14 method results in a 7th phase (red).
This means you will have to heat your sword from the lowest temperature on green to the highest temperature on red for the 7th phase, which takes too much time.
It's much faster foundry points/hour to stick to 6 phase swords.
Yes, you get less points per blade, but the time you save is well worth it.
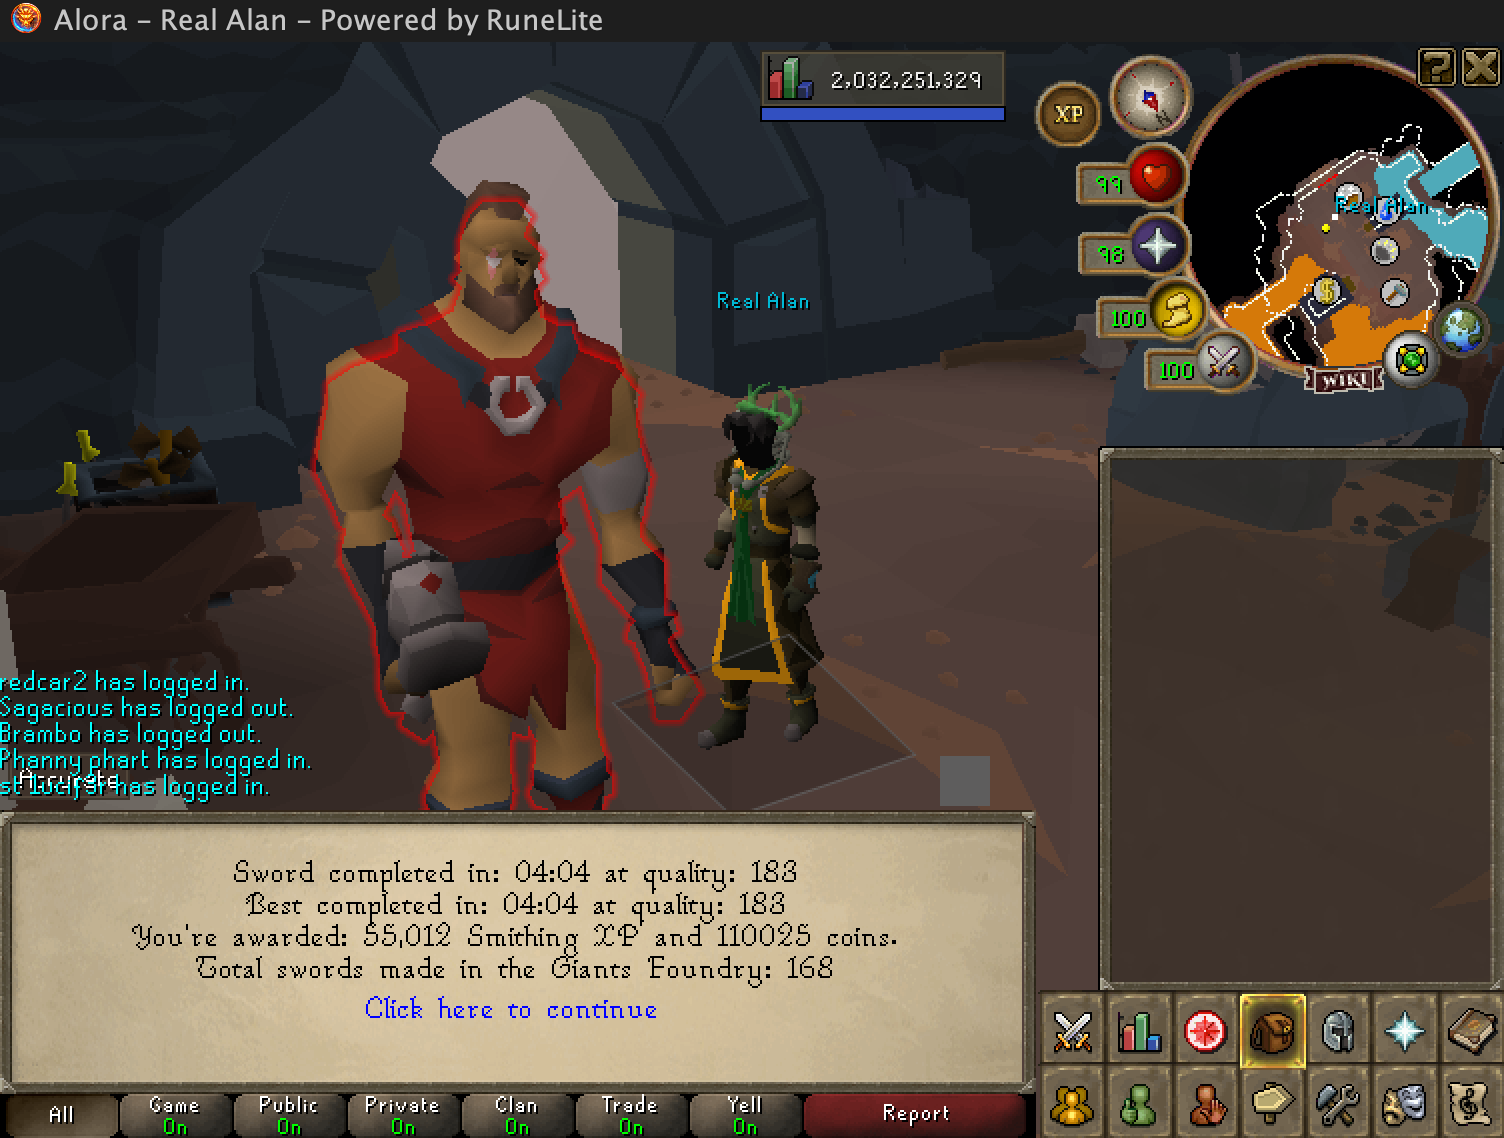
A 6 phase sword can be completed in about 4 minutes -> yielding 183 points.
Whereas a 7 phase sword takes much longer and only adds a small boost to points.